
Acoustic Guitar Building
By Galloup School of Lutherie Instructor, Cooper Wentz
Important Note: This is going to be a continually evolving project, where I’ll be adding photos, blueprints, and more. These updated iterations will be located on our Patreon at https://www.patreon.com/c/TheGalloupSchool.
In writing this article on how to make an acoustic guitar, I’m going to cut straight to the how-to. To do this, I’m assuming that the reader at least has some basic guitar anatomy knowledge. If at any point you encounter potentially unfamiliar terms, a quick internet search should give you the information you need. I will bolden the terms that are both important and potentially unfamiliar. I plan on writing and creating far more extensive articles regarding this topic, incorporating videos, pictures, blueprints, and so forth. For now, however, this incomplete guide should serve as a great introduction, a way to track your progress, and give you an idea of the order of operations that we use at the Galloup School.
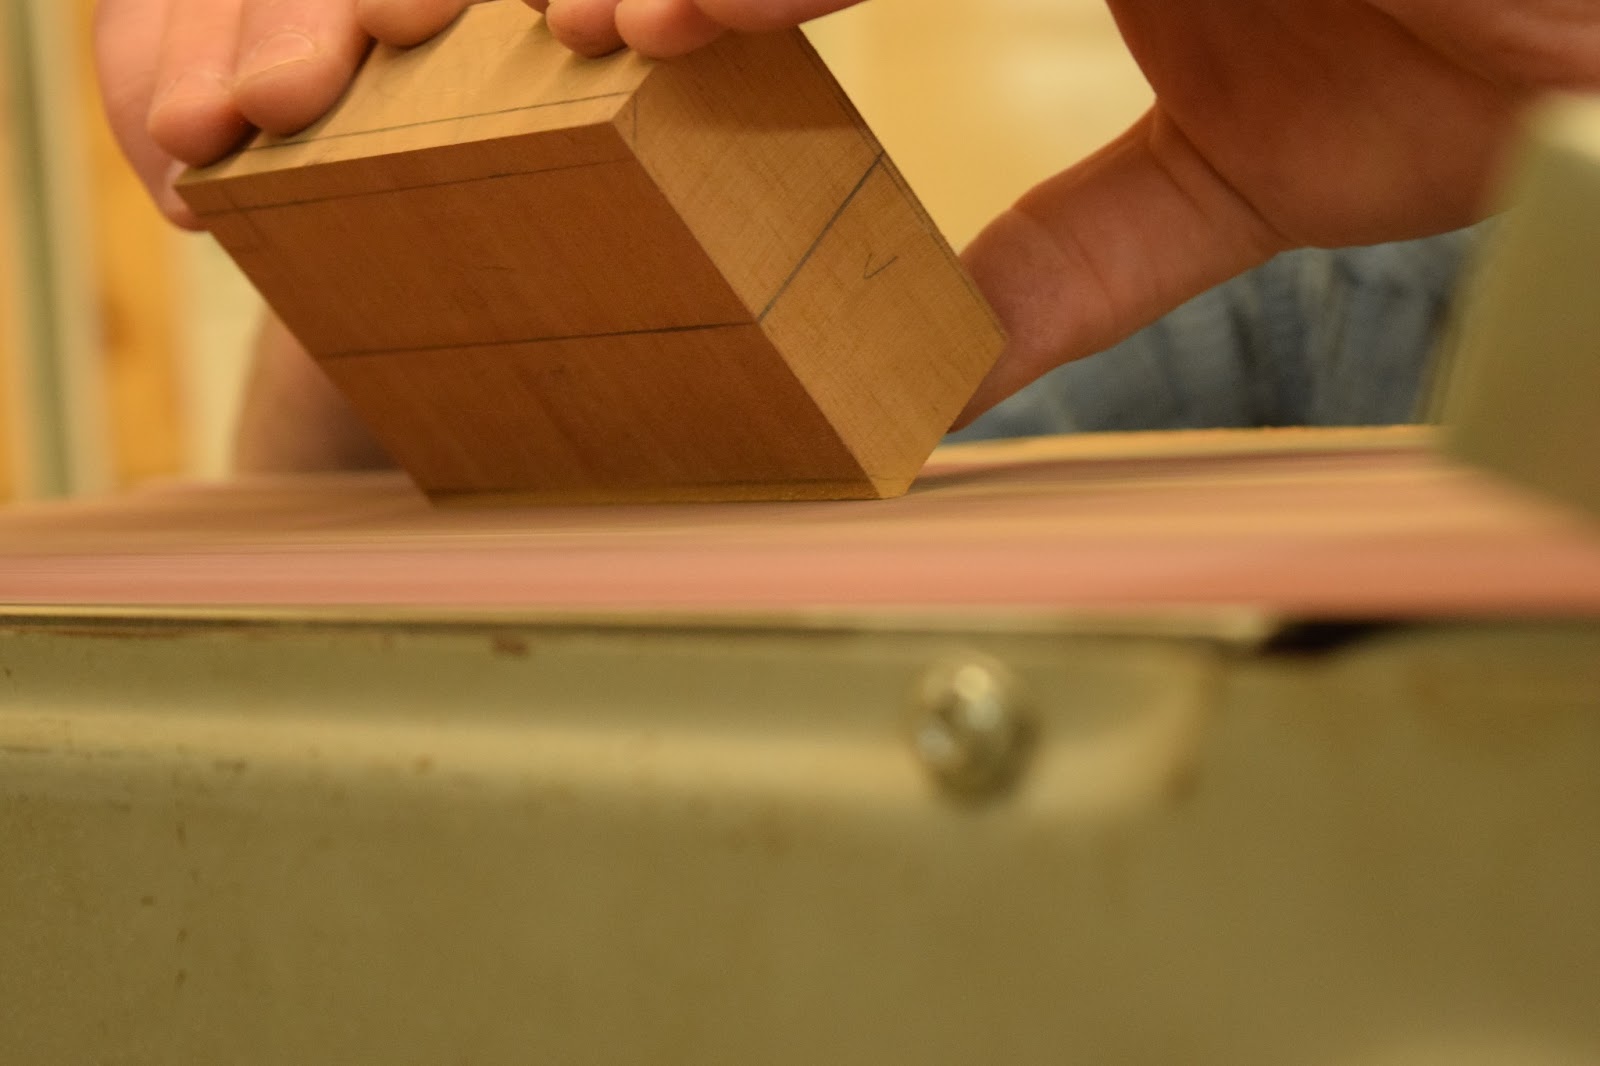
Head & End Block
The first thing I do is build the head and end block of the instrument. This process is simple, and I’ll share the worksheet I give to my students below:
-
Head Block: 4” x 2.75” x 1.4”
-
End Block: 5” x 3” x .650”
-
Flatten one long end of the block with the disc sander. Mark this as your reference edge.
-
Using your machinist square, make one short side of the block square to your reference edge using the disc sander. Mark this corner as being square.
-
Lay out the dimensions of the block from the edges of your squared corner.
-
Use the band saw (under instructor supervision) to remove the bulk of the excess material.
-
Use a disc sander to bring the block squarely to final dimensions. Use square calipers.
-
Use calipers to establish a centerline lengthwise around the block.
-
Use the appropriate head or end block radius caul to hand-sand into the final radius. Be careful not to twist, rock, or over-extend your block as you do this.
-
Mark off 1/4” bevel along the front of the vertical edges of the block. Use the belt sander and your bastard file (or sanding stick) to then create and fine-tune this bevel.
-
Finish sand up to 220. Start with 120 to remove machine and file marks, then move to 180, and finalize with 220. Use your sanding stick for the bevels and a sanding block for the flat surfaces. DO NOT SAND RADIUSED SIDE!
So, as you can see, the process is fairly straightforward. My only additional note would be to make certain that you adjust the radiused side to match the curvature of your guitar body shape. If you are uncertain of this radius, you can actually just wait until you have the sides of the instrument bent and glued together, and then index those corresponding radii onto your head and end block.
Bridge Making
The bridge is also straightforward. There are a few specialized jigs and fixtures we utilize in order to construct these efficiently, but you can easily get by with standard woodshop tools. This process is largely self-explanatory if you utilize the following dimension sheet and instructional:
-
Establish a reference edge by cleaning up one edge on the disc sander.
-
Square up one of the ends with the reference edge.
-
Measure out the length and width of the black, cut off the excess material. (6” x 1.4”)
-
Bring the cut edges in square with the rest of the blank, but do not go under size!
-
Mark centerline all the way around the blank. (perpendicular to long surfaces)
-
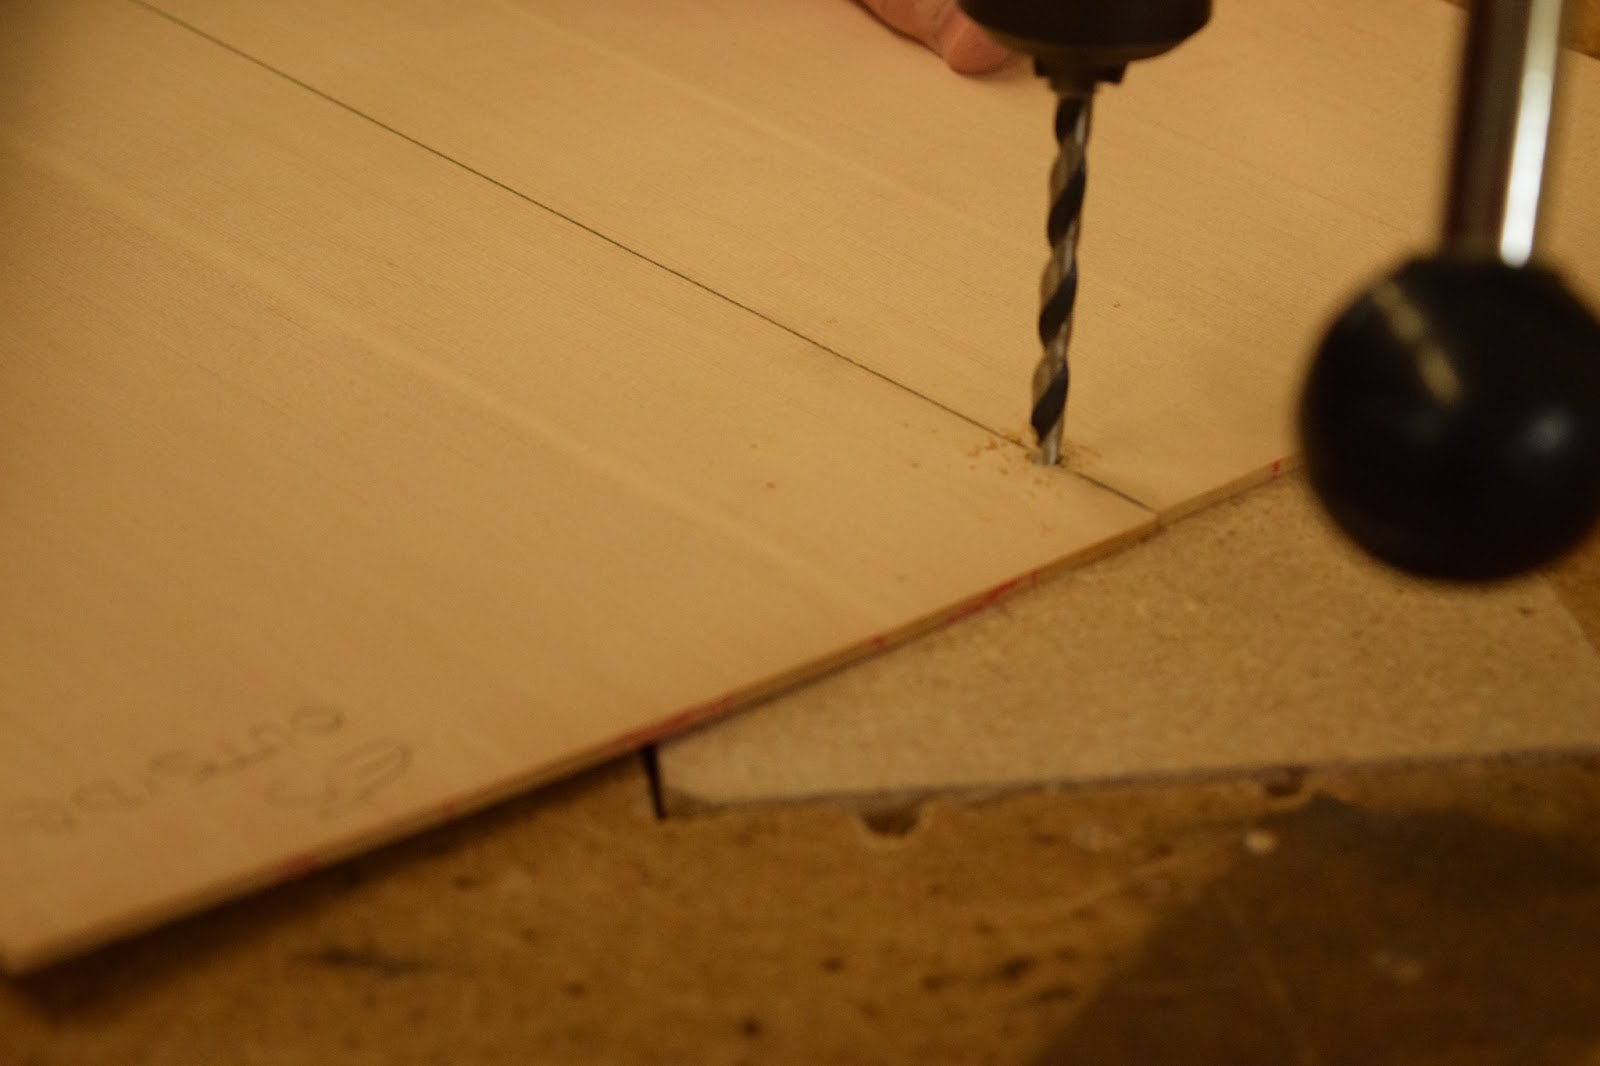
Using the locating jig, drill the locating holes in the bottom of the blank. (Remember to label which edge is the front edge)
-
On both top and bottom side of the blank, mark out the final width and depth of the wings.
-
Measure 1” in each direction from your center line and add two more lines parallel to the center line. Then measure down 1” from the front of the bridge and draw a line across the long surface of the bridge–perpendicular to your previously established centerline.
-
-
Use a protractor to connect the lines with a radius. Cut off the excess and using the fence on the spindle sander, sand in the final shape.
-
Using the 63’ spherical sanding block, pencil in the bottom of the bridge blank and sand to radius the bottom of the bridge.
-
Using the radius jig, sand the top to a 16” R with a final bridge height of .365” at the center.
-
Mark out and sand the wings to final thickness using the fence on the spindle sander.
-
Route the saddle slot and drill the string holes.
-
Final Shape (See demo and refer to slideshow)
-
Finish sand with 120, 220, 400, 600, 1000 + steel wool
-
DO NOT OIL BRIDGE PRIOR TO GLUING
The image and directions are fairly self-explanatory. In future postings on our Patreon, I’ll be certain to update this with images and blueprints for the different jigs and fixtures we use to precisely and quickly yield the end result. My only additional note would be that the locating pins drilled in the bottom of this bridge work to locate the bridge into our shops jigs and fixtures, and locate the bridge into the top itself.
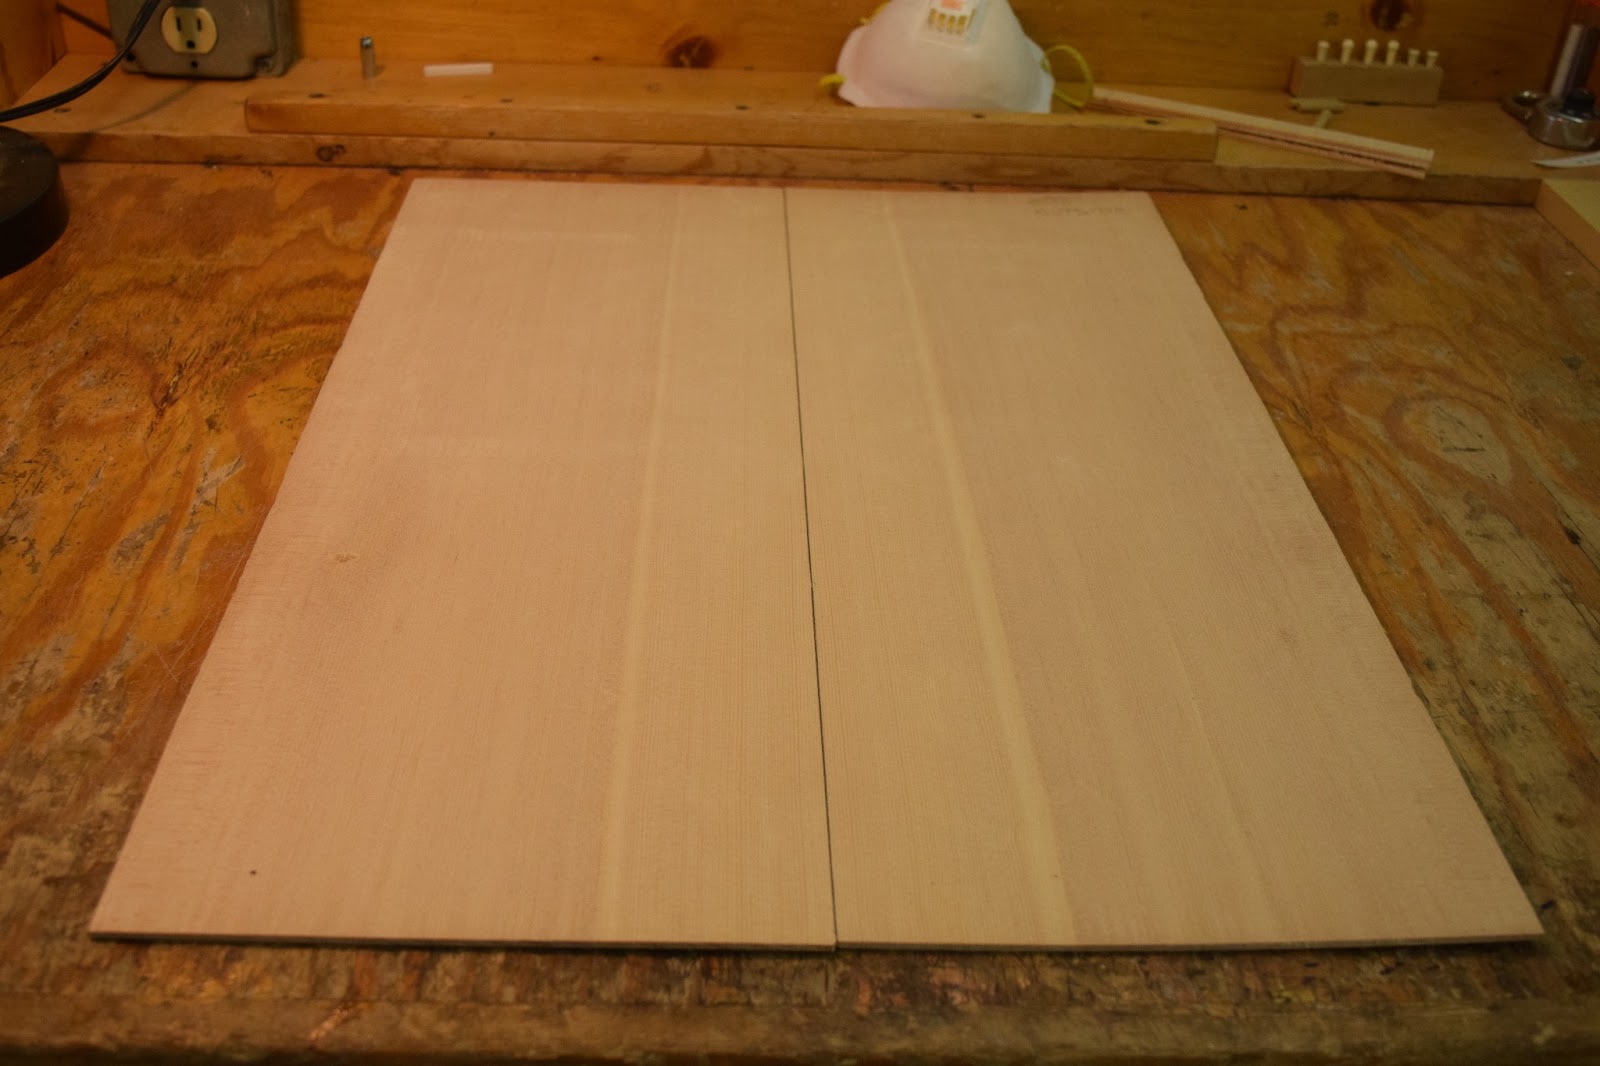
Side Bending
The side bending process begins by selecting bookmatched sides. I then have the students ensure that the sides are well oversized relative to the final dimensions of the instrument. In other words, the sides need to be a few inches longer than you think you need, and at least a couple inches wider than you think you need. At this point, however, I do bring the sides to final thickness. For solid, non-laminated sides, which is the only process I will be describing in this guide, I recommend taking the sides to between .080” and .090” thick. This is ideal for bending. At this juncture, I mark out where the waist of the guitar should be. This is generally where the most dramatic bend will occur, unless you’re doing a venetian cutaway. At this point, we’re just about ready to begin the bending process. While doing this, you have several different options. You could hand-bend with a bending iron and use template or mold as reference, you could bend using heat blankets or a heat lamp, or purchase a pre-made bending system. Regardless, the ultimate functionality of the systems remain the same:
-
Wet the sides with water. Make sure the entire surface area of the wood is damp.
-
If you’re using a bending iron, use the previously drawn waist line as reference for your bends. Do not attempt to bend until the heat is at least to 180 degrees fahrenheit, although waiting until at least 220 degrees or so is more ideal. This depends on the species of wood, however. For example, maple is scorching prone, so I remain on the low side of the spectrum, while something like wenge benefits from bending at higher temperatures, upwards of 300 degrees fahrenheit.
-
If you’re using a system where you simply bend the sides by clamping them into their final form via male and female molds pressed together, wet the sides in the same manner, and then wrap them in aluminum foil, transferring the waist line and your show side onto the foil.
-
Using a heat blanket or some other heating device, follow the same temperature parameters laid out prior. Then, once the desired temperature is reached, bend the wood.
-
NOTE: I prefer to use either a temperature gun or a thermal probe for determining temperature.
The side bending process is not as difficult as you may think. For more information, I would recommend staying tuned in with our Patreon or simply finding a YouTube tutorial. We’ll definitely be releasing more content regarding this topic.
Gluing the Sides Together
In this step, we’ll discuss the process of gluing the sides together, bringing the sides into their final height and the typical wedge-shape acoustic guitars possess, and gluing on the kerfing. In this section, I will be assuming that this guitar build will have an end wedge.
-
To start, we’ll want to glue the head and end block onto the sides. In order to do so accurately, we use a mold to ensure everything is on-center and in the right location.
-
I would recommend using the original Titebond wood glue for most all gluing processes unless specified otherwise.
-
After these are glued together, we use a parabolic sander (if you’re uncertain as to what this is, specifically search “guitar building parabolic sander”) to bring everything into the final shape, dimensions, and add a radius to both the top and back of the instrument.
-
At this junction, we glue on the kerfing. Kerfing acts as a glue surface for the top and the back to be glued to the sides. To attach the kerfing, we also use wood glue.
-
We do a secondary parabolic sand to ensure that the kerfing matches the radius of the top and back, and make certain that the kerfing is flush.
Top & Back Building
The top and the back building process can be complicated if you use the instrument voicing principles we teach on our main patreon page. In our shop, we use basic engineering principles found in plastics, mechanical, and especially basic concepts found in physics. We do this to ensure that when we build a guitar that we find particularly exceptional and world-class, we can replicate that sound repeatedly with extremely tight tolerances. That information along with our studies are being continually built out on our Patreon. In this post, however, we’ll use standard dimensions as opposed to voicing in order to reach our brace heights and final top and back thickness.
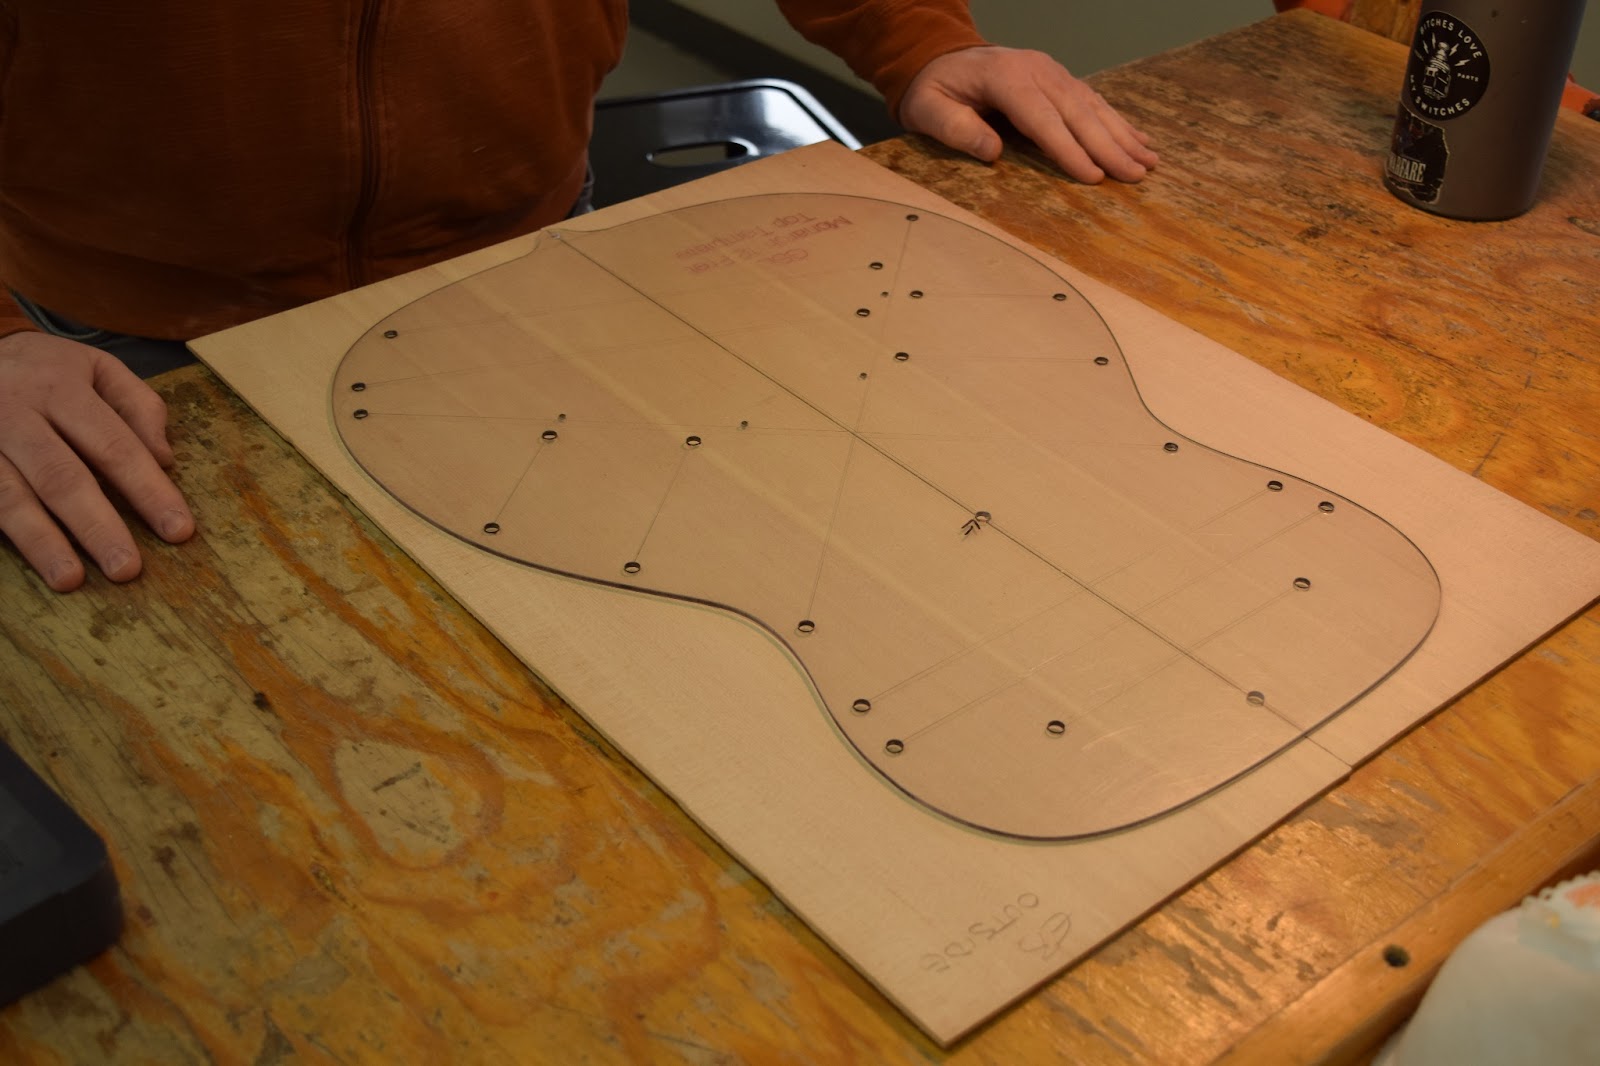

For cutting out the top and the back, the process is the same. The template for the body shape is the same for the top and the back. The only difference, of course, is going to be the bracing and the soundhole cut-out. First step is to bookmatch the top and the back, and then glue the corresponding pieces together. To do so, we use rope clamps.
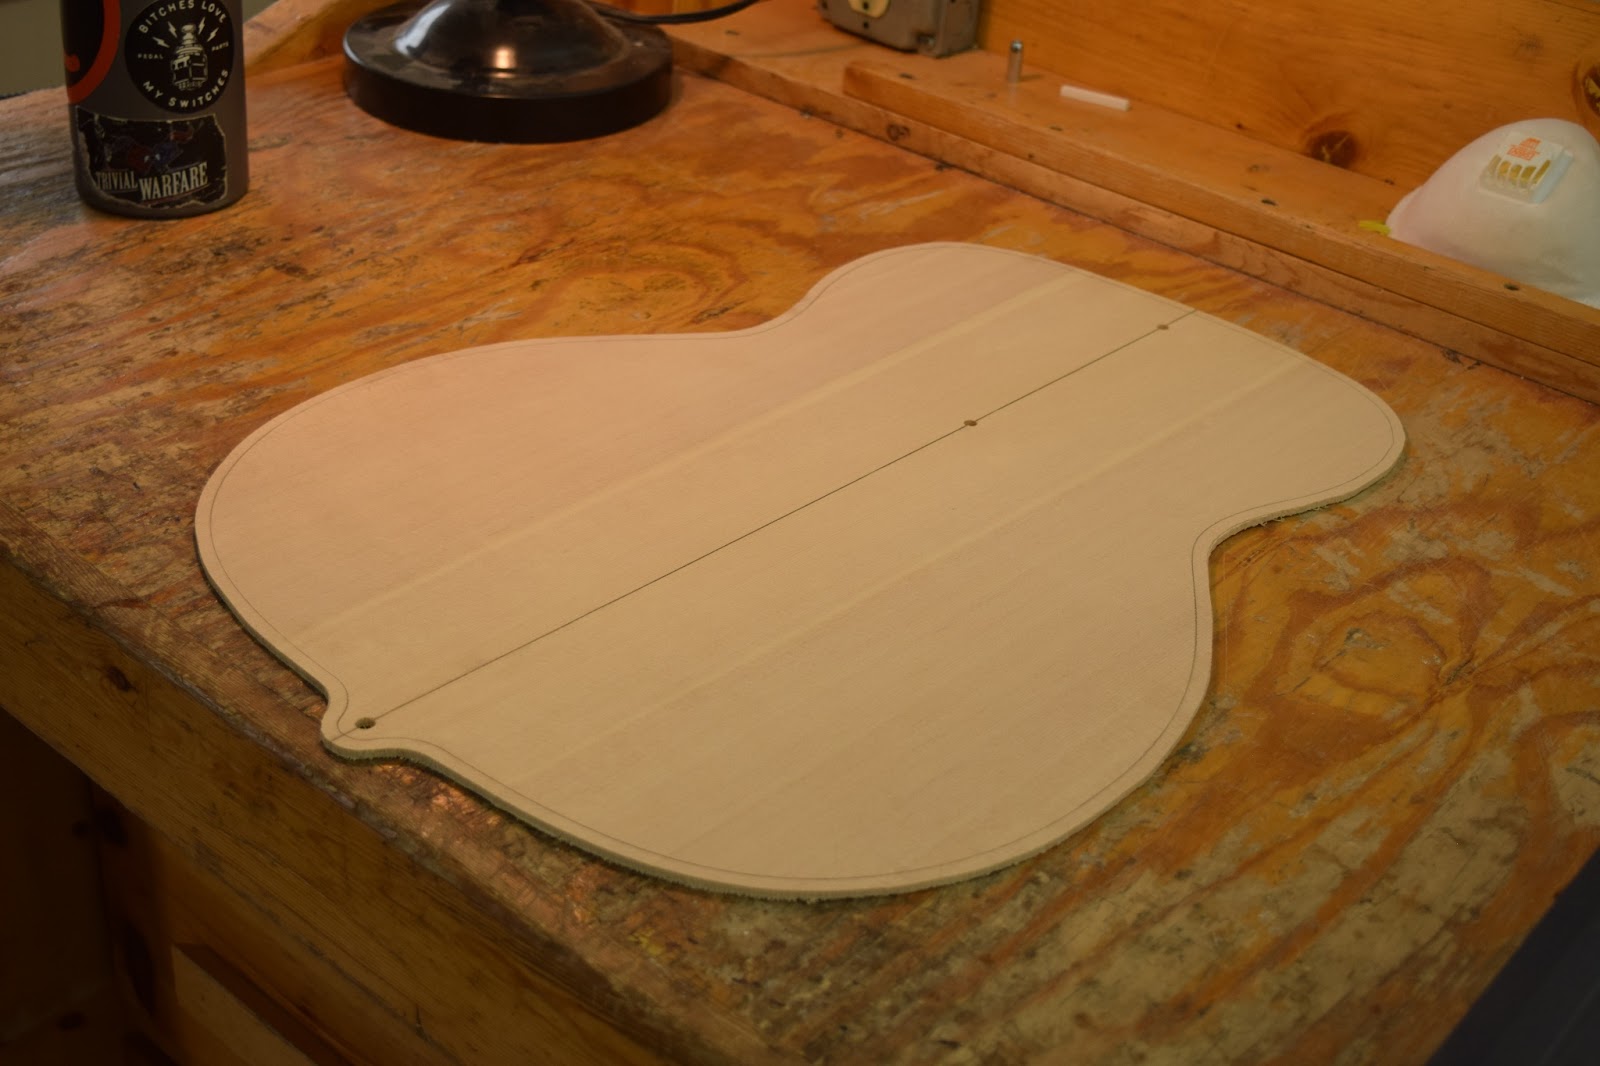
After it’s glued together, reference the photos to the left. You can see that we draw a centerline, use a body shape/bracing template, and then use locating pins to accurately pin the template to the top or back prior to cutting it out. To figure out your bracing pattern and to accurately trace that information onto the top and back, I recommend a universal bracing template. If you are building a more specialized instrument, you’ll have to either create your own, or purchase a previously existing template.
Next, we’ll want to cut the soundhole. I do this with a fly cutter/circle cutter drill bit. The rosette is done with the same tool. Anything that gets exceedingly complex, we tend to do with a CNC. The operations for doing a more complex rosette by hand or with a CNC will be discussed in other Patreon tutorials. In this instance, for a rosette we would recommend installing purfling, as it’s one-cut, simple, and a classic look. For a quick video on this topic, we have a great reference on our Instagram: https://www.instagram.com/reel/CzFKTXcLnyr/?utm_source=ig_web_copy_link&igsh=MzRlODBiNWFlZA==
After that process is finished, you need to make braces. I would recommend taking the braces to a height of .700” tall and .300” wide. This will apply to every brace except the shoulder brace, which I recommend making slightly larger in the width dimension, taken to .500”. Note that bracing patterns and dimensions can greatly vary between guitars. In this section, we’ll be doing a traditional 14-fret guitar with a traditional x-bracing pattern. Be certain to look up images of the traditional x-bracing pattern, noting the tone bars, x-braces, wing braces, shoulder braces, back braces, and soundhole braces. You will want to come up with a system for radiusing the braces prior to gluing them on. The top of the flat-top guitars we build actually have a subtle radius–63’. The Back of the instrument has a 20’ radius. The bottom of the braces must be radiused to match this curvature. We use an edge sander with a radiusing jig, but a simple radiused dish with some sand paper would work just fine. If you’re having trouble visualizing this, I would recommend looking up an image of a sanding radius dish. After successfully constructing the braces, you’ll want to create notches in the x-braces so that they can intersect one another. You may begin the bracing process at this juncture, starting with the top. You’ll want to create graft material for both the shoulder graft and the soundhole graft, if in fact you choose to do a soundhole graft as opposed to soundhole braces. Now, at this point, explaining this exclusively in an article can become tedious, so I’ll explain as best I can prior to updating this series with more image and video information, but I aim to make this as comprehensive as possible. Once the braces are ready and radiused, begin by gluing the x-braces to the top. Use locating pins and a go-bar deck (or clamps if a go-bar deck isn’t available) to ensure precise placement. The notches in the x-braces should interlock perfectly, and both braces should align with the centerline you marked earlier. Apply even pressure and allow the glue to cure completely.
After the x-braces are secure, proceed to attach the tone bars, wing braces, and soundhole braces (or graft, if you opted for that design). Each brace should align with the pre-drawn bracing pattern on your top. Keep in mind that every brace serves a structural and tonal purpose, so take care to ensure proper placement and adhesion. The braces should follow the radius of the top, maintaining the intended curvature.
For the back, the process is similar but more straightforward, as there’s no soundhole or tone bars to contend with. Begin with the back braces, radiusing them to match the 20’ curvature. Glue these braces in place using the same tools and techniques as with the top. Ensure the braces are evenly spaced and aligned with the centerline of the back.
Once all braces are attached and the glue is cured, use chisels or sanding blocks to taper the ends of the braces. This tapering reduces unnecessary mass while maintaining structural integrity, ensuring optimal resonance and tonal response.
Finally, the top and back can be joined to the sides. Start with the top, aligning it carefully with the sides and using clamps or a go-bar deck to secure it in place. Apply consistent pressure around the edges to ensure a tight, even bond. Once the top is secure, repeat the process with the back.
At this stage, your guitar will begin to resemble its final form. The next steps involve installing binding, purfling, and final shaping, which I’ll cover in future updates. Keep an eye on our Patreon for detailed guides, videos, and tips on these finishing processes!